|
Hi r/spirograph! It really is me.
2 Comments
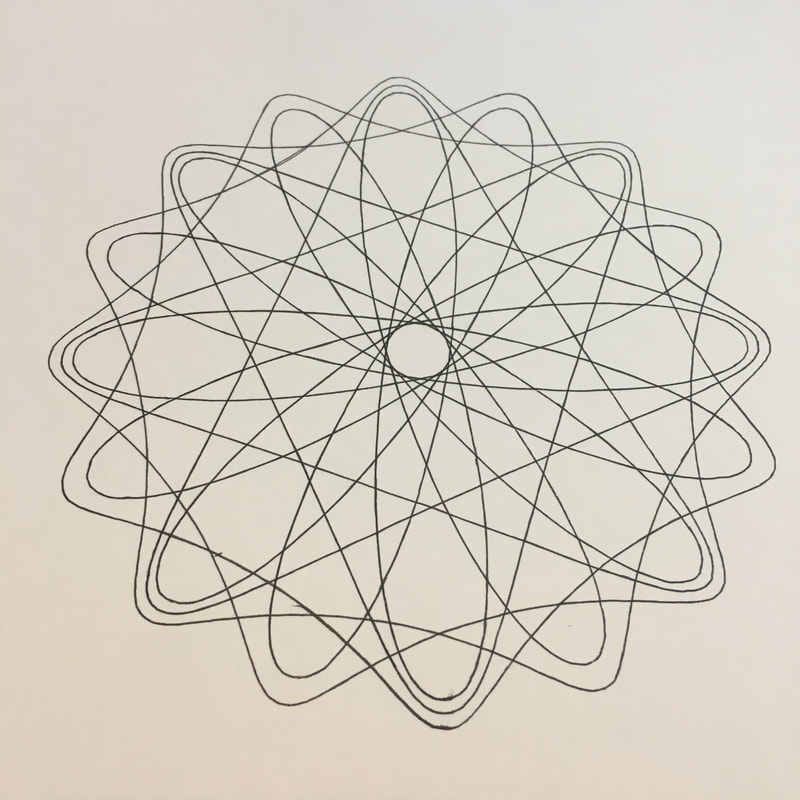
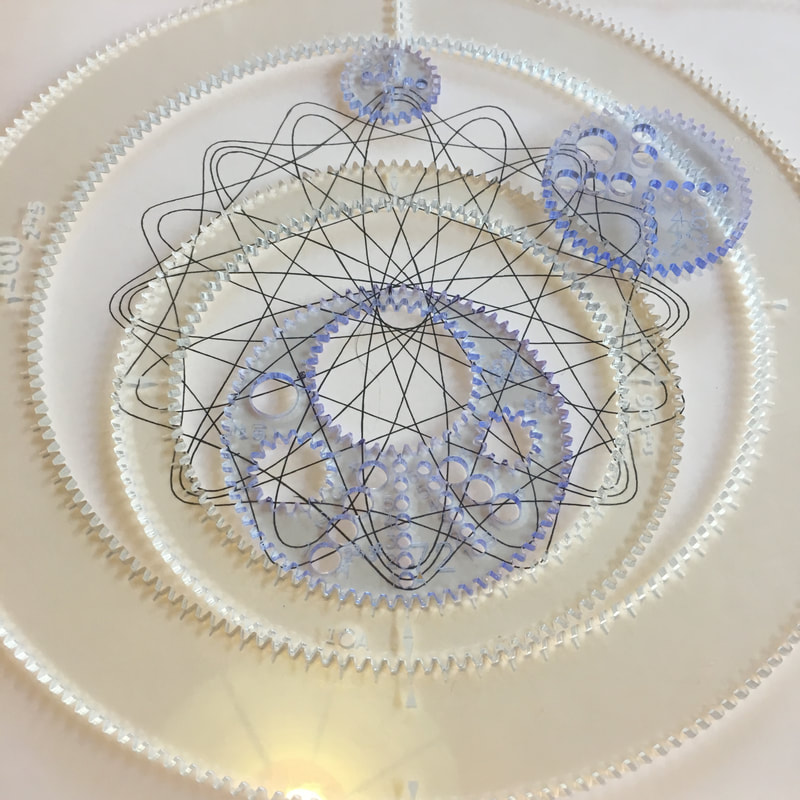
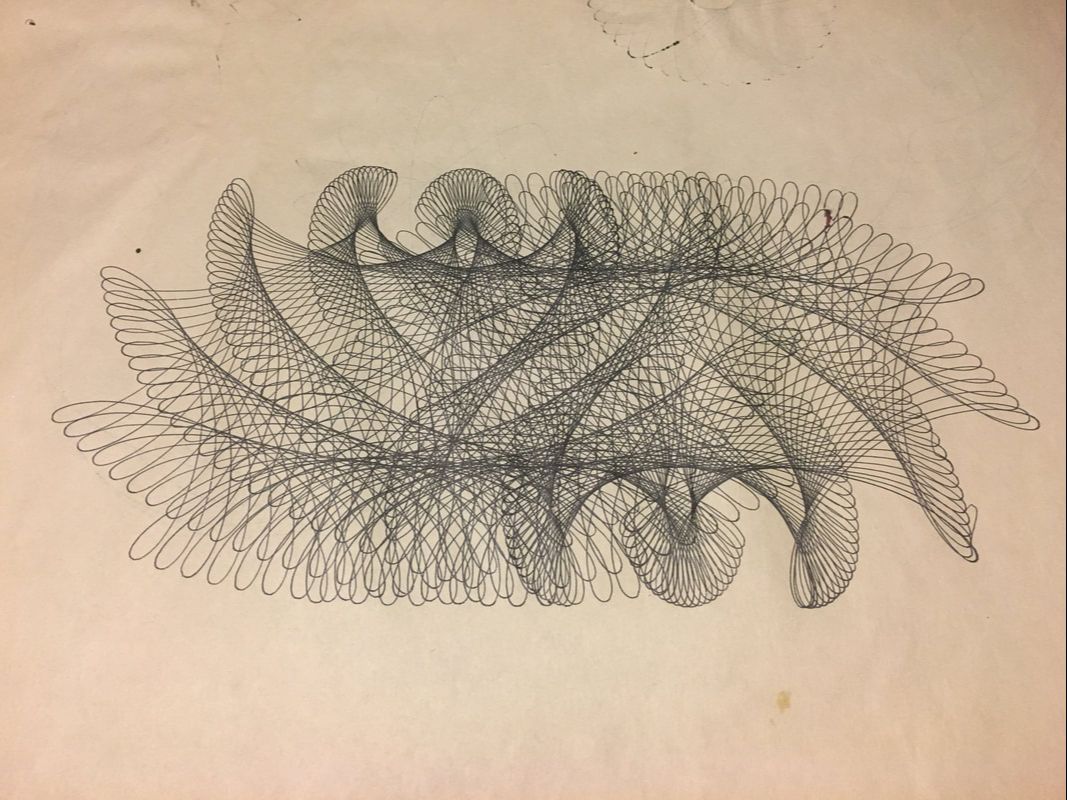
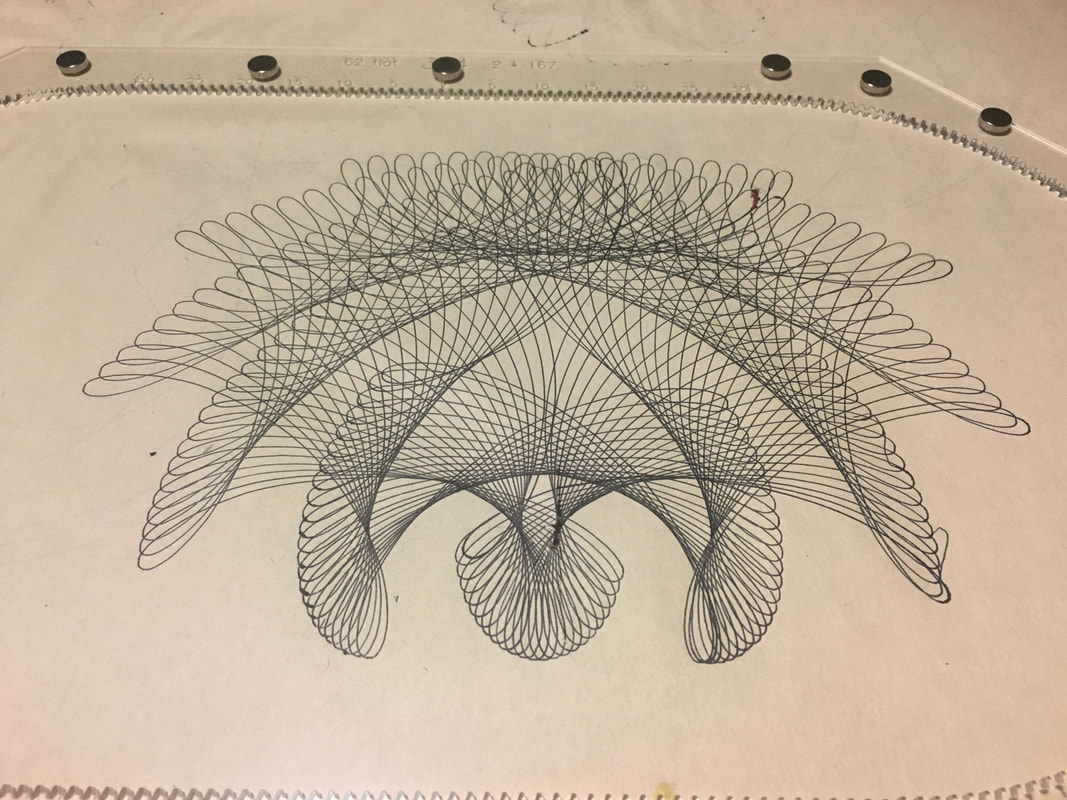
A simple way to make a engaging interesting looking design is to use multiple simple designs. This one is made by using one design from each of three different gears. Selecting which gears to pair together can be a challenge when there are so many options to choose from. In this design the three component simple designs from the three different gears have 8, 16, and 16 petals. But the gears weren't selected with that knowledge in advance. How then do you make a design like this without lots of planning and testing; which is a fine way to go about it too but I want to show that it isn't the only way. I selected a 160 ring and a 120/96 hoop which I had out from another design that I was working on. I decided that the 160 would be stationary with the 120/96 inside it and free to move. That gave me an internal ring on the hoop of 96. I wanted a relatively simple design so I picked gears with a large common multiple that they shared with the 96. I selected 24, 48, 72 (1/4, 1/2, and 3/4 of 96 respectively). Another way to look at that is that I picked gears that shared lots of common factors with the 96 ring and with each other. Aligning all the pieces at the 6'oclock position with the darts I started with the 24 1A, then 48 1B, and finally 72 2A. If this short time lapse is too fast you can adjust the play back speed to slow it down to 0.25x speed.
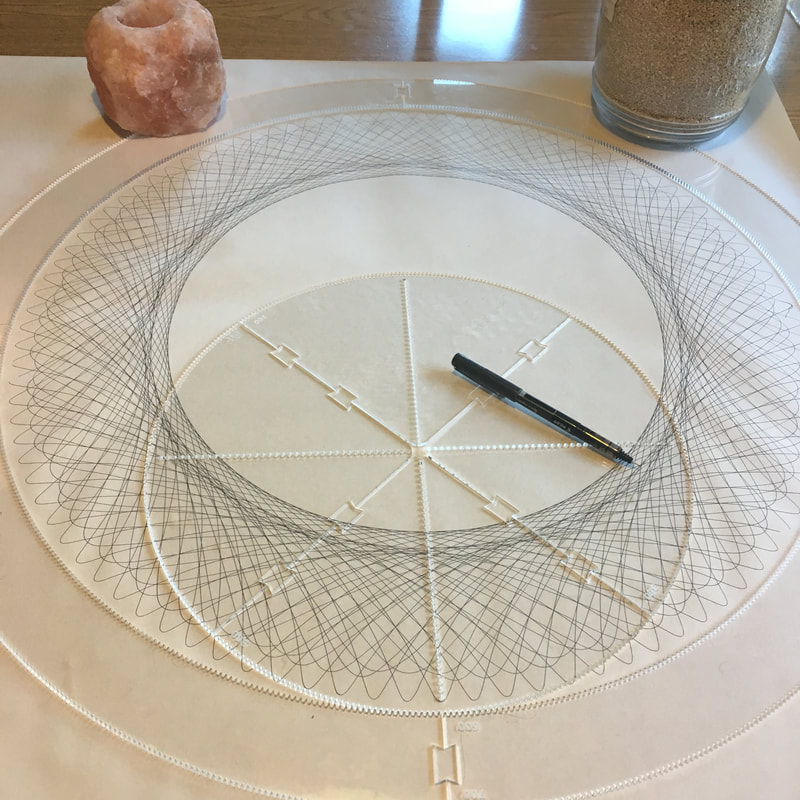
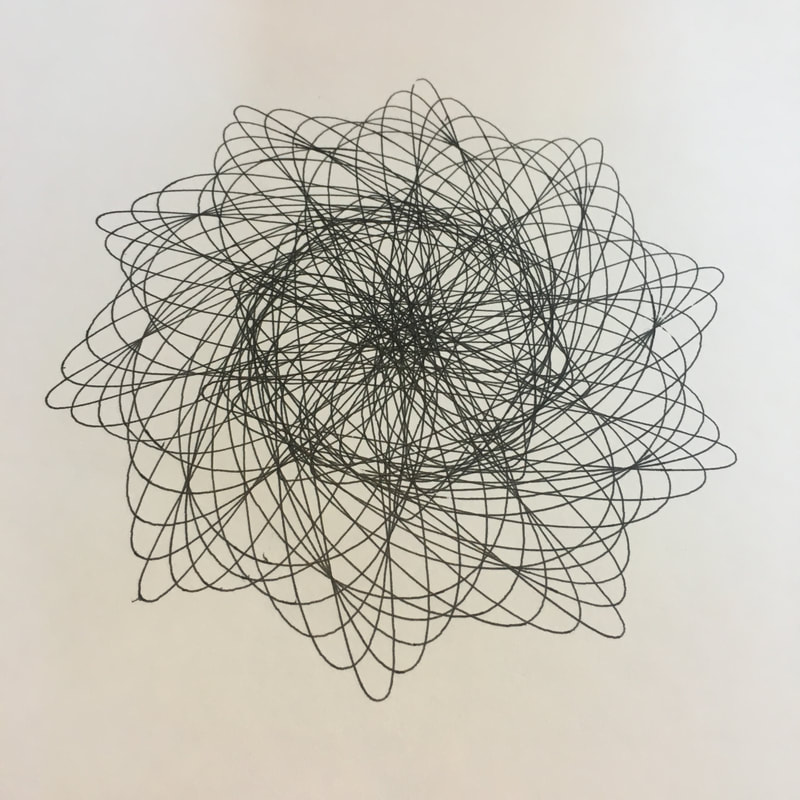
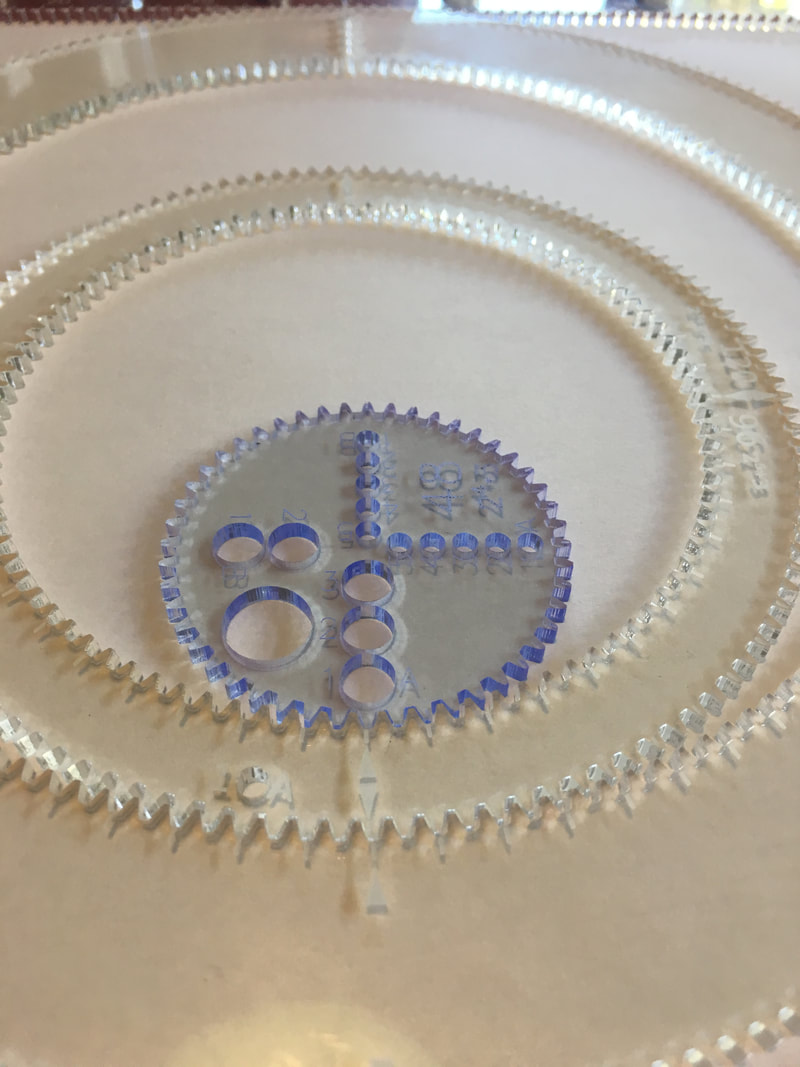
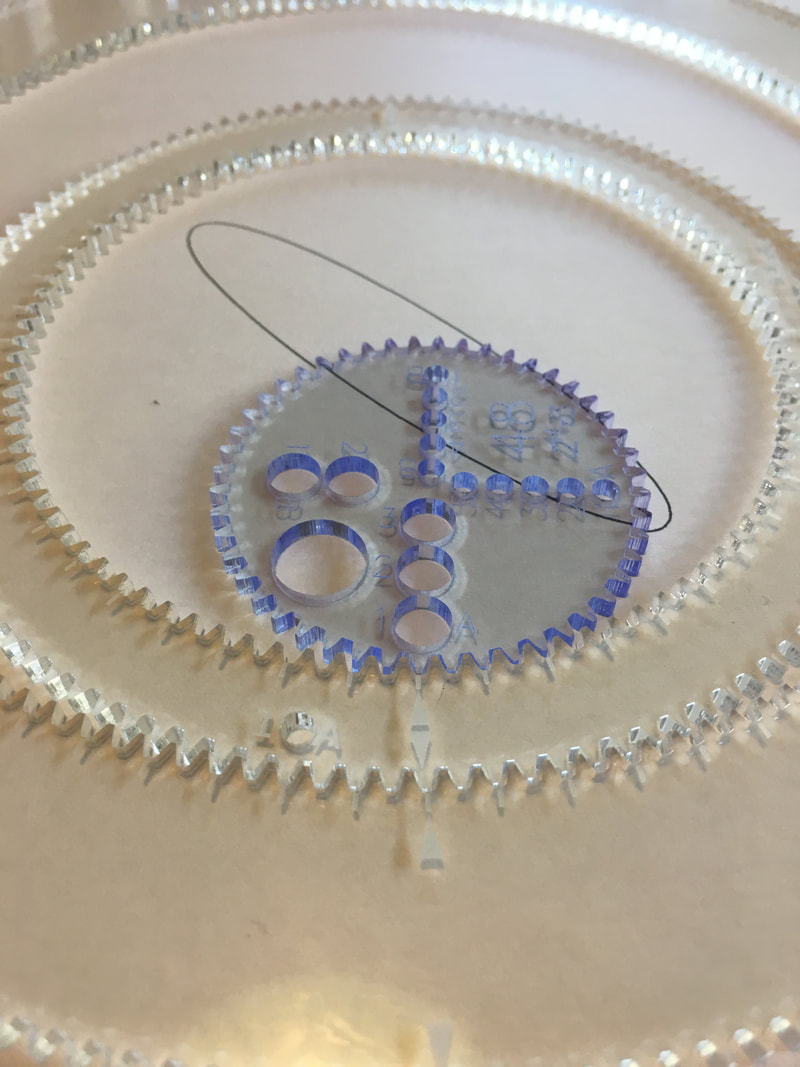
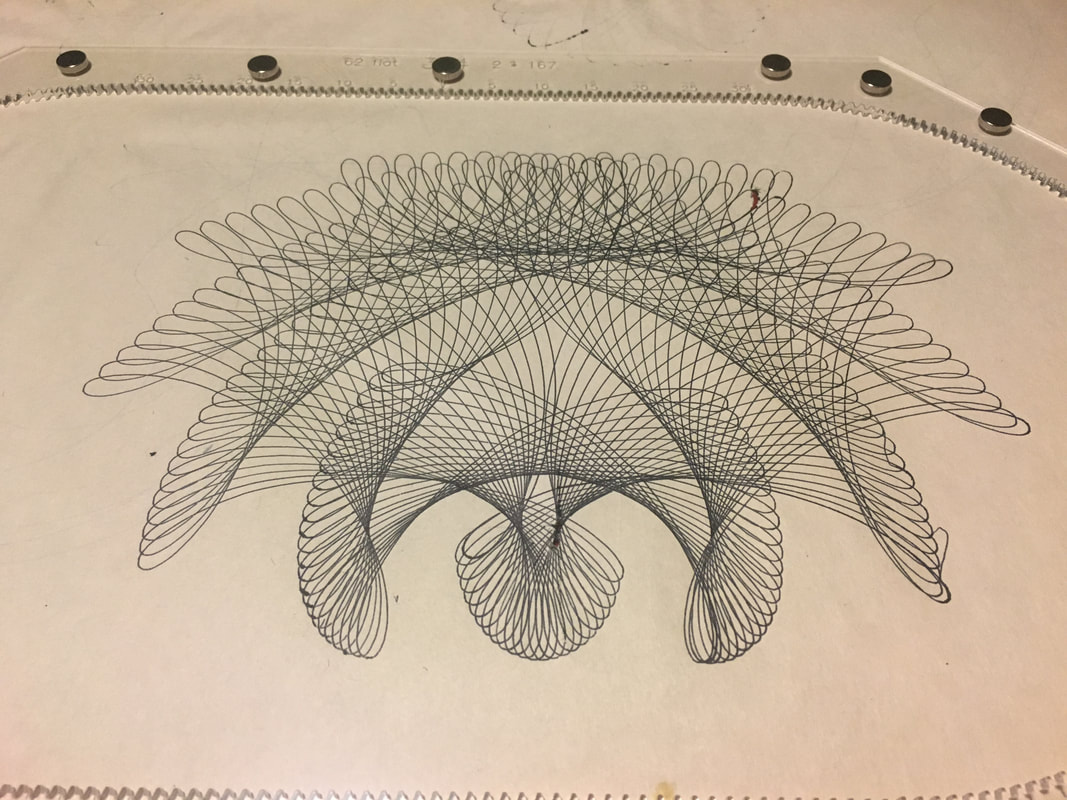
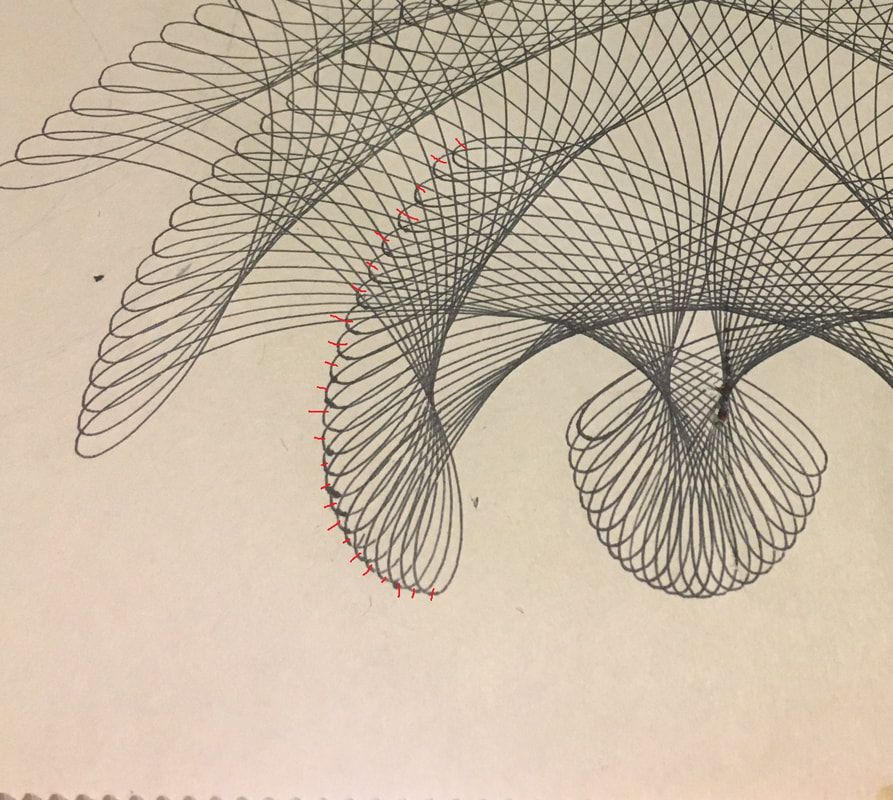
The pieces used in this design are: 160 ring (Plentiful Gear Set or Full&Plentiful Hoops Gear Set) 120/96 hoop (Full&Plentiful Hoops Gear Set) 72 gear (Compact Gear Set) 48 gear (Compact Gear Set) 24 gear (Compact Gear Set) Today I'll be discussing the process of making this piece: The pieces I used to make it are: 160 ring (Plentiful Gear Set or Full&Plentiful Hoops Gear Set) 120/96 hoop (Full&Plentiful Hoops Gear Set) 48 gear (Compact Gear Set) I used the 210/160 hoop from the Full&Plentiful Hoops Gear Set and I held it still in the large oblong from the Nested Oblong gear set which is not necessary but made keeping everything still easier. How was it made? Start by aligning the gears like this: Hold the 120/96 hoop stationary and use the pen hole 1A. This will make an oval. The angle of the oval is determined by the rotation of the 48 gear. If the 1A hole was aligned at the bottom with the darts in the other pieces then the oval would be going radially into the center. By rotating the 48 gear by 12 teeth it makes the oval on a diagonal. One iteration of this looks like this: To make the rest of the design you step the 120/96 hoop 2 steps clockwise around the 160 hoop. Keep the 48 gear in the same spot in the hoop. This means that you move the 48 gear and the hoop together and that column A of medium pen holes always stays lined up with the triangular darts on the 120/96 hoop. With each two tooth step and repetition of the design you change pen holes going up and down the small pen hole A column. 1A to 2A to 3A to 4A to 5A to 4A and so on up and down. Yesterday I posted the Art Recipe 2 but there was a mistake in the recipe I'd posted. The first take away from this is that I should make actual notes while making the art rather than type it up after an evening of creative experimentation. Down to the detective work to find out where I'd gone wrong. I knew I had the gears right because I had a photo of the setup that I'd used. And I had a photo that I'd take on the first half of the design where it is easier to see the patterns. I was pretty sure that it wasn't many steps that I was doing with the hoop and with the gear and while I thought I know which direction I was moving each gear I could no longer be sure. To begin my investigation I set about testing a few simple combinations. Each test helped me get a better intuitive feel for how the different combinations of movements changed the design. Also, I quickly came up with a simple notation for myself at the top of each page after realizing that I was going to loose track of what I was doing almost immediately if I didn't. After doing a few of these I started to think more critically and try and work out what I could deduce because even if I was only searching in the space of three steps or less that was 36 different combinations to test and that was going to take far too long; especially if I could be clever and make it easier. My first realization was that I could look at the reference picture to see how many times I had iterated the base 9 pointed design. This would tell me how many times I was shifting the hoop to the right. Every two steps of the bottom of the hoop is like translating it one step right in terms of hoop position. Picking one of the fans created by shifting and rotating the design I counted 24 instances of it. Combined with the fact that I knew that the design had been concluded somewhere in the 20s on the oblong this helped me conclude that it must have been made with 2 step increments on one side of the hoop. That nailed down the parameter as 2(right). Next I looked at the designs that I'd made and the one I was trying to copy and saw that on the same fan of petals that I counted when I stepped the gear to the right it did not make that counter clockwise progressing swoop. From there I determined that I would explore the left stepping solution space. Instead of trying the few combinations at hand now I was able to make one more deduction. If I step the hoop two steps right and the gear 1 steps left it is very similar (but not identical) to translating the hoops top and bottom both 1 right. The movements almost cancel each other out as I'd seen in hoop 2 right and gear 1 left. I'd also tried hoop 1 right and gear 1 left and I figured that would make something similar to hoop 2 right and gear 2 left and that wasn't the shape I was looking for either so I opted to try hoop 2 right gear 3 left which worked out. Other things to note take away from this is that the translation of the center of each 9 pointed design is shifted to the right with each iteration but because of the 3 left steps of the gear the pattern itself rotates to the left making the characteristic fan shape that was counted.
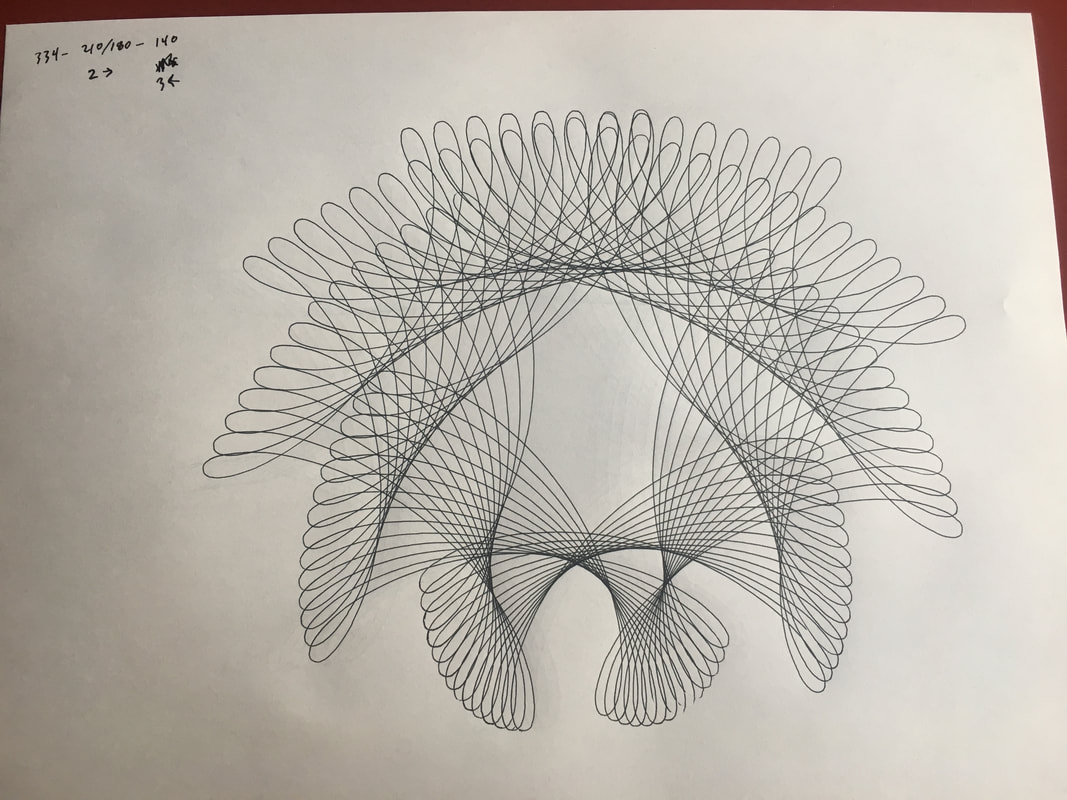
Made with the Nested Oblong Gear Set and the Full Page Gear Set. Using the large oblong (334), the 210/180 hoop, and 140 gear. Center the 210/180 hoop at the 0 mark in the oblong ring. align hole 3A with the bottom (closer to you) of the hoop in the oblong. Complete the simple design with the 3A in the 140. Repeat this design many times. Between each repetition make these two moves: 1) step the bottom of the hoop two teeth to the right 2) step the 140 gear three steps to the left (clockwise) This design was taken out to about the 27 mark on the right hand side of the oblong rack. This completes the first half of the design which looks like this: To make the completed design reset the gears to the starting but with the 140 aligned to the top of the oblong at the zero point.
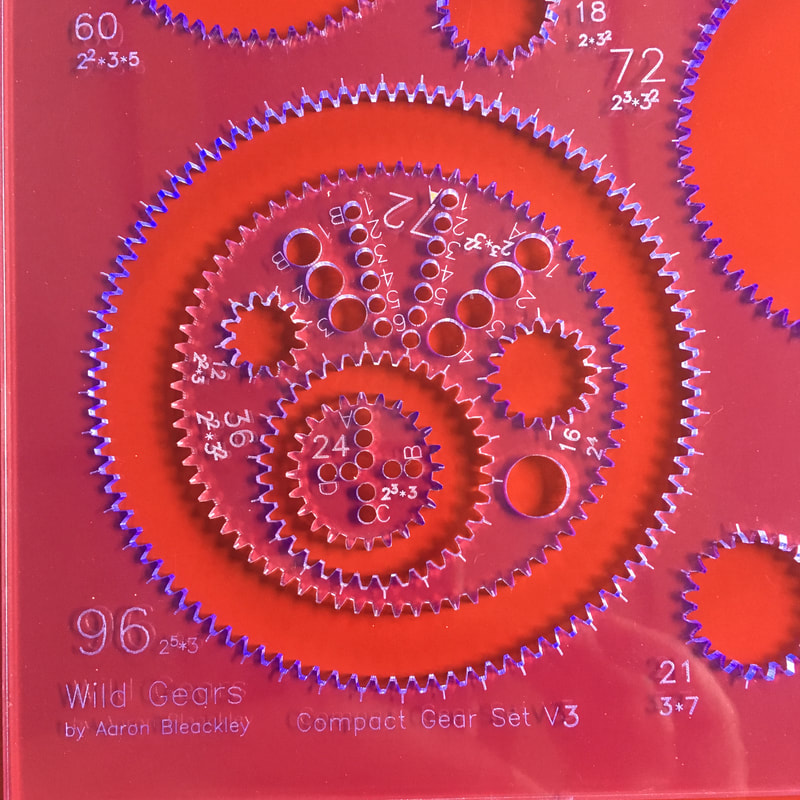
Do the simple design and this time the steps between each repetition are: 1) step the top of the hoop two teeth to the left 2) step the 140 gear three step to the right (clockwise) completing this set of simple designs and translations completes it to look like the top picture. Note: This recipe has been corrected about 24 hours after being initially posted. Step 2 used to indicted that the 140 gear should be moved 1 step instead of three. Thank-you to Angie Woollard for pointing out the mistake. Made with the compact gear set. Using the 96 ring, the 72 gear (with 36 ring in it), and the 24 gear in that. The 24 in the 36 makes a 3 pointer design. Start with the 72 gear at 6 o’clock in the 96. Position the 72 so that the 36 is at 6 o’clock. Align the 24 gear so that the 1B pen hole is one gear tooth off of the 6 o’clock position. Hold the 72 gear still and make one copy of the 24 in 36 design. Shift the 72 6 teeth in one direction and repeat the design. With each set of steps the 1B pen hole and 36 cutout should remain as close to the edge of the 96 ring as possible. Repeating this design 16 times will complete the design. Note: the photos of this gear set are of a V3 fluorescent blue gear set so it doesn't perfectly represent the improved appearance of the V4 compact gear set.
|
AuthorAaron Bleackley, designer of Wild Gears Archives
July 2024
Categories |
Wild Gears
BLOG and
BLOG and
Newsletter
Proudly powered by Weebly


 RSS Feed